The Best Way to Pressure Wash Your House Safely & Effectively
We all want our homes to look clean and organised at all times. While indoors, that’s not much of a problem, and we usually do our best to keep everything tidy and well-kept.
However, when it comes to the outdoors, most property owners don’t really go the extra mile.
Your outdoor curb appeal is just as important as maintaining a beautiful living space, and that’s where pressure washing comes in handy. The outdoor surfaces of our home are constantly exposed to harsh weather, dirt, and pollution—causing grime and algae to accumulate over time. Pressure washing is a process that allows you to remove such dirt and grime with high-pressure water. This improves your curb appearance, improves the longevity of your house, and even provides the health benefits of maintaining a mould-free home.
This article will give you a complete guide on how to pressure wash your house safely and effectively—a fast and risk-free pressure washing experience.
Choosing the Right Pressure Washer
Let’s start with the first thing that comes to mind: what kind of pressure washer should I choose? To make it easier for you, here are the key factors to consider before buying a pressure washer:
Key Factors to Consider
1. Cost
Pressure washers come in different shapes, sizes, and models. Some are gas-powered, while others are electrical. Electric pressure washers are generally cheaper, quieter, and easier to maintain than gas-powered ones.
Cost plays an important role when considering whether to buy or rent a pressure washer. If you don’t have many properties and only need one for infrequent use, renting is generally a better option.
2. Power
Another key factor is the power that a pressure washer provides, measured in pound-force per square inch (PSI). There’s a table guide for recommended PSI ratings for pressure washing different surfaces.
However, as a general rule, light jobs typically require 1,200–1,500 PSI, medium jobs need 1,500–2,500 PSI, and heavy-duty jobs call for 3,000+ PSI.
3. Portability
Portability might also be another thing important to consider when renting or buying a pressure washer, as some models may weigh more than 100 pounds. Such units are usually wheeled for better portability and may require a utility vehicle or a small pickup truck for transportation purposes.
Electric models, on the other hand, are more compact and easier to carry than gas-powered ones.
PSI Guide for Different Surfaces (Table)
| Surface Type | Recommended PSI | Nozzle Tip |
|---|---|---|
| Vinyl Siding | 1,200–1,500 | 25°–40° |
| Wood (Deck/Fence) | 500–1,200 | 40° |
| Stucco | 1,500–2,500 | 25°–30° |
| Brick/Concrete | 2,500–3,000 | 0°–15° |
| Roof Shingles | <1,200 | 40° |
Pro Tip: Test pressure settings on an inconspicuous area first.
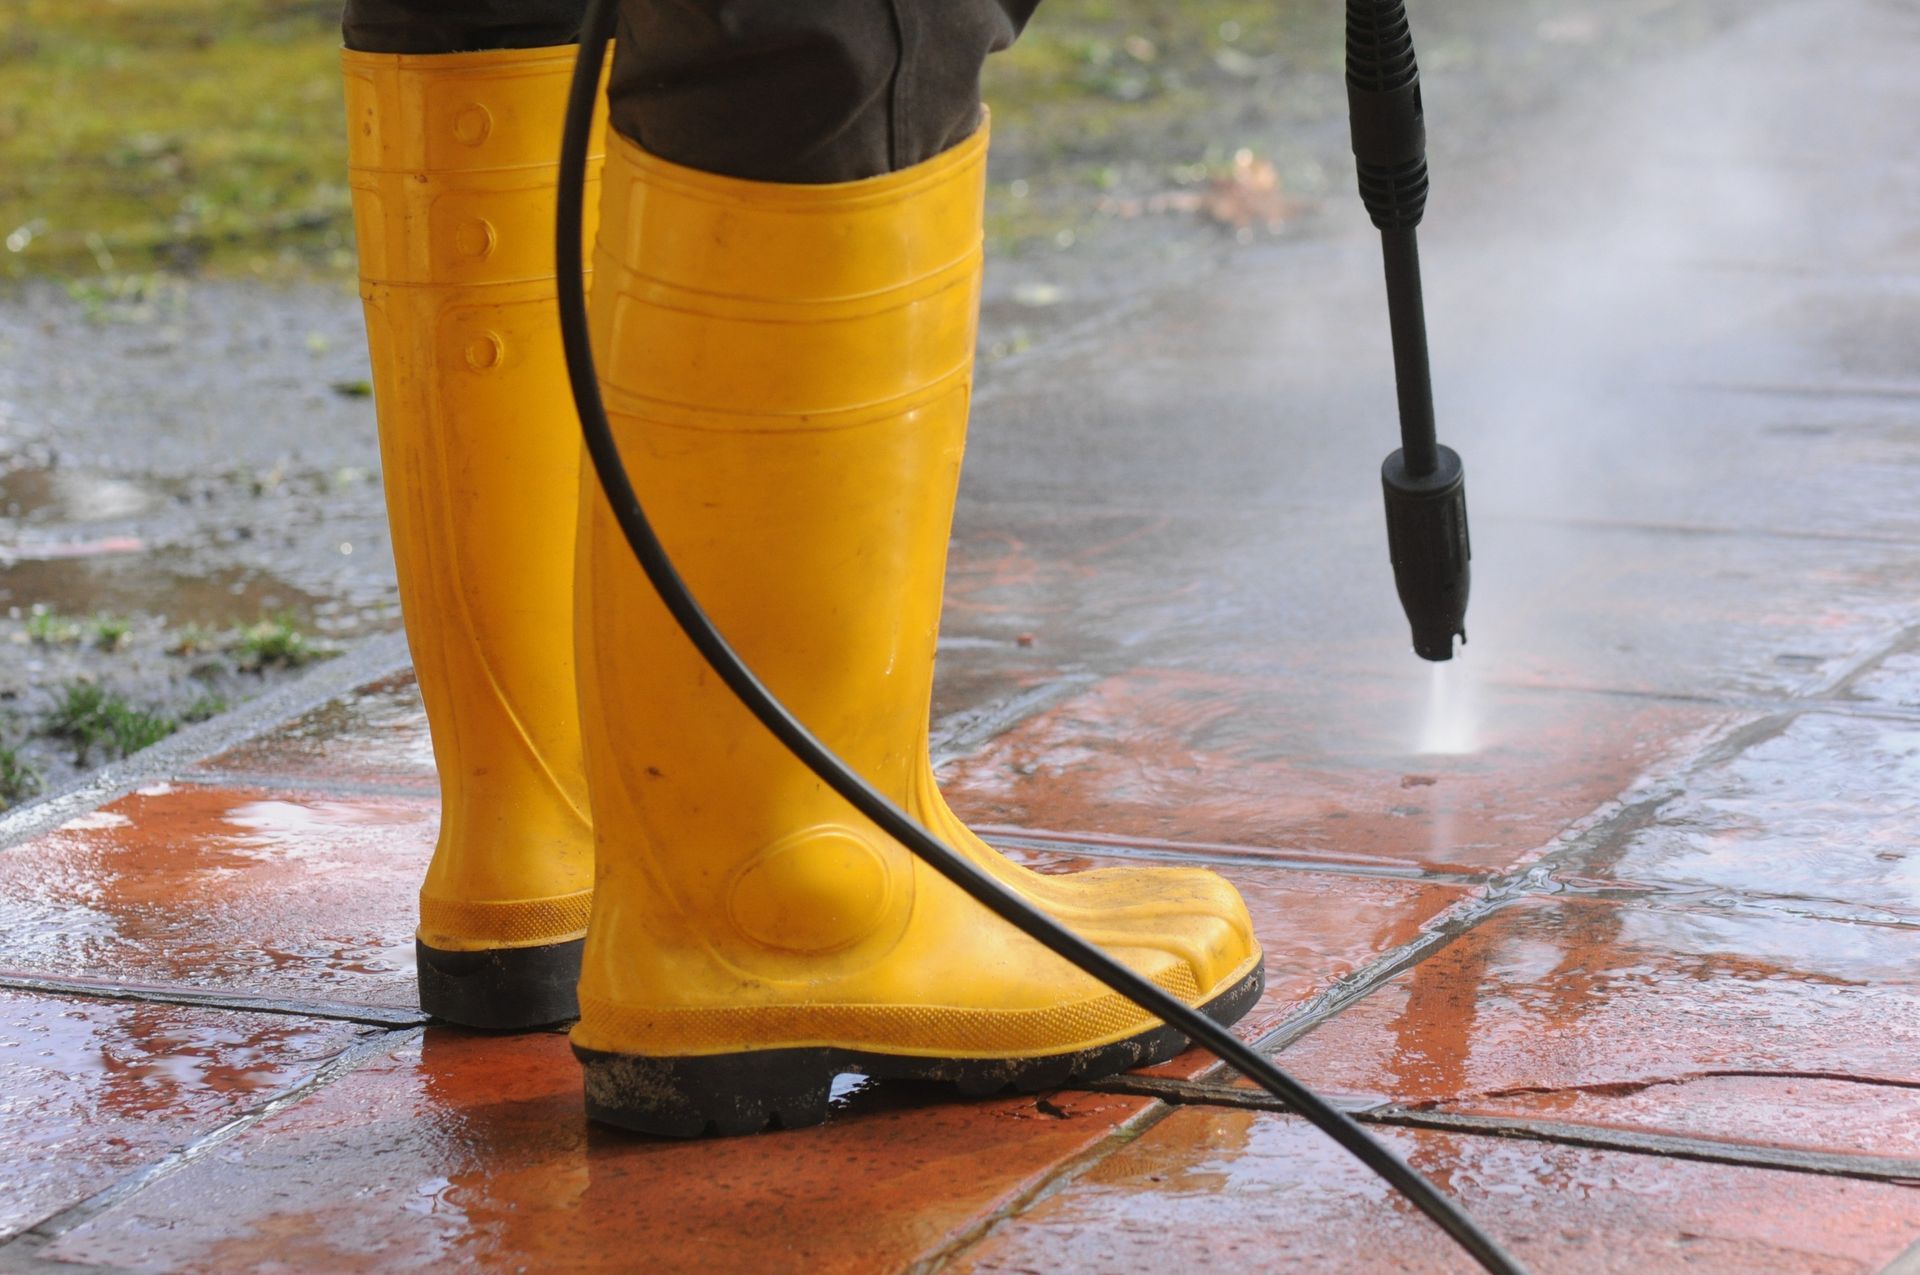
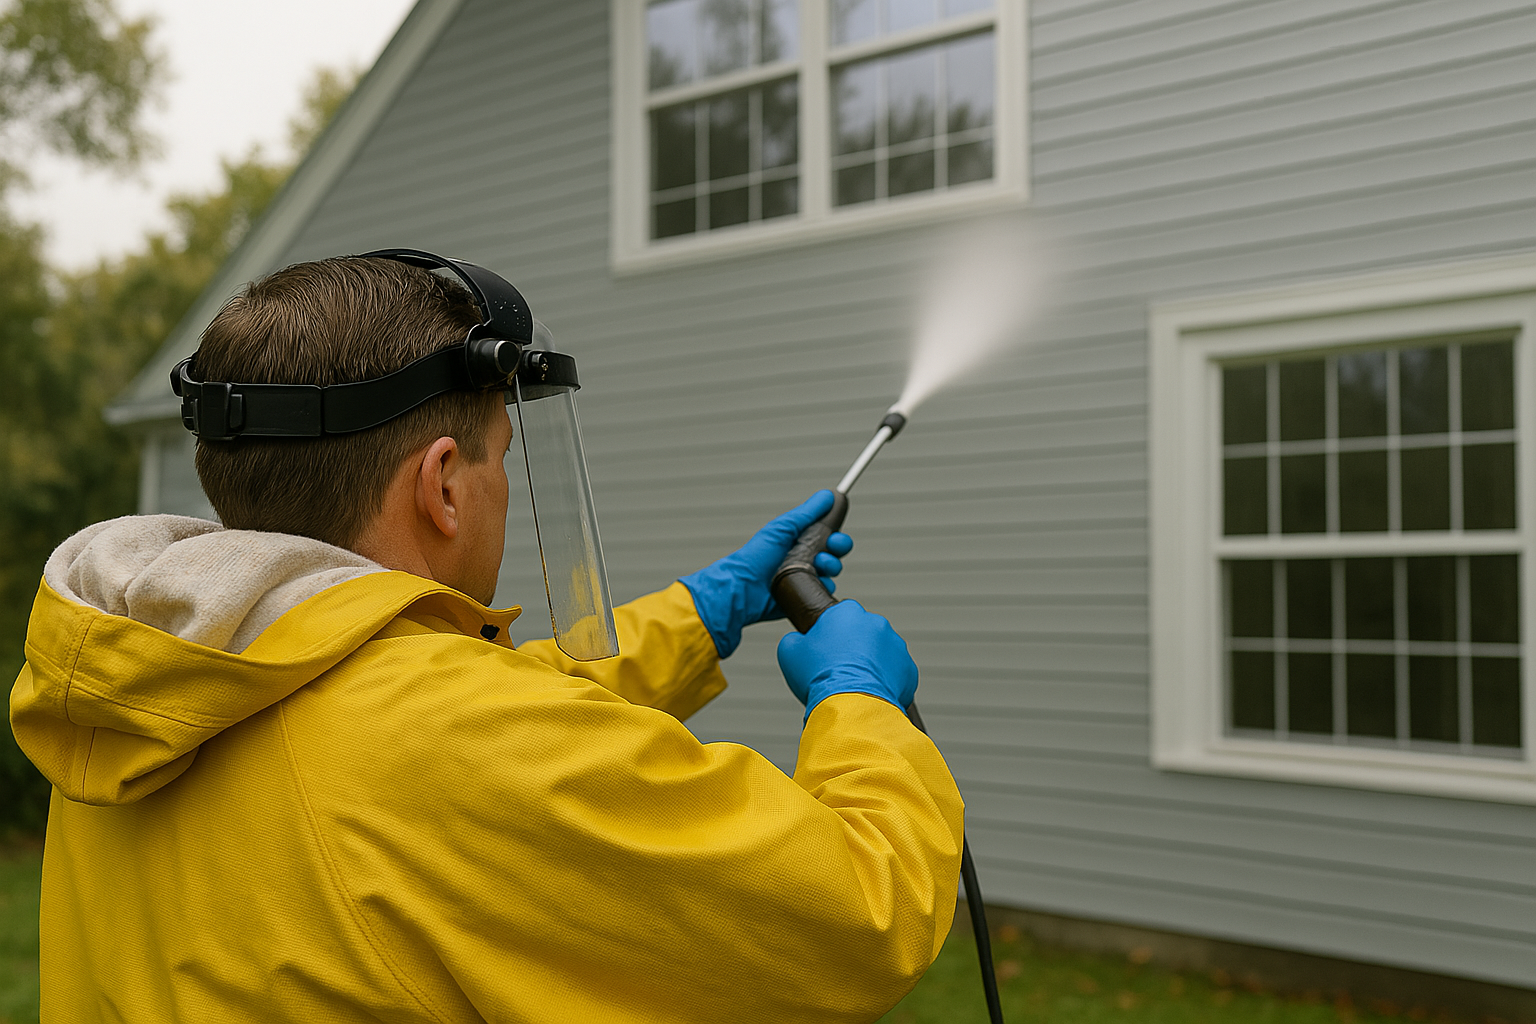
Safety Gear and Precautions
The next and one of the most important things to take care of before jumping straight into pressure washing your home is to take care of safety precautions.
These include:
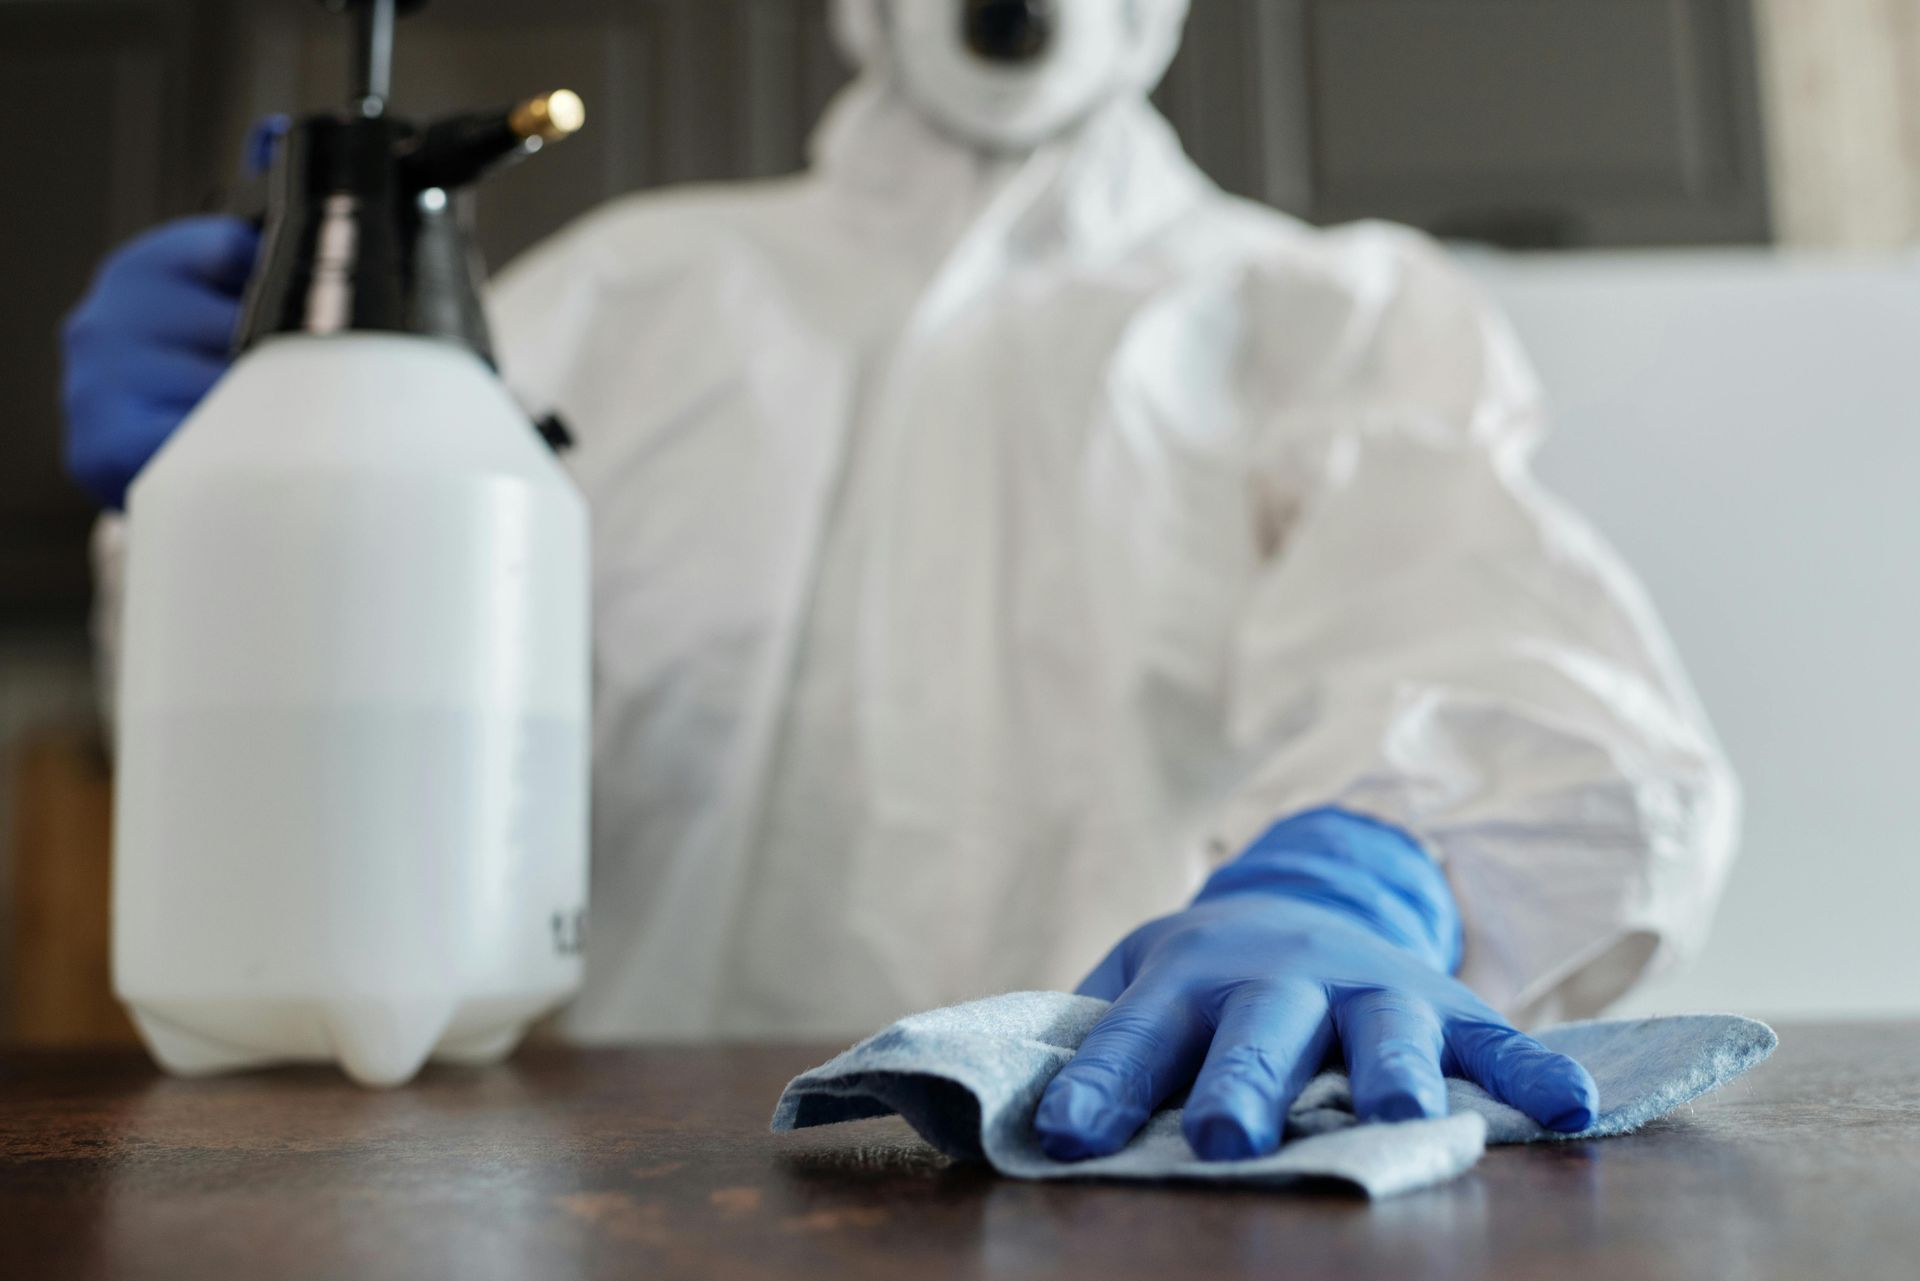
Essential Safety Gear
- Protective eyewear (goggles or safety glasses)
- Gloves and long-sleeve clothing (waterproof if using detergents)
- Non-slip, closed-toe footwear
- Hearing protection (if needed for gas models)
Safety Guidelines
While working, keep a safe distance from people, pets, and other delicate objects, as pressure washing machines are dangerous and should never be pointed at someone.
Assess the surrounding area before starting and remove any objects that might interfere with your work. Check for damaged surfaces and remove any loose items—by inspecting surfaces for existing damage before cleaning, you can adjust the pressure accordingly to avoid causing further harm.
Cover all electrical outlets with duct tape to prevent water from getting inside. Also, cover your plants and windows with a protective covering or a tarp to prevent water damage.
If you are working on a two-story or a three-story building and want to use a ladder, it is not recommended. The recoil from the pressure washer can easily get you out of balance and there is a risk of falling. A much better way is to either use a scaffolding or an attachment that allows you to rinse the upper areas while standing on the ground.
Steps for a Successful Pressure Washing Job
Now that we’ve set the premise, let’s take a look at the job itself.
Here’s a step-by-step to pressure washing a house:
1. Preparation
The first step is to prepare the area, which includes, removing loose debris and damaged objects to prevent further harm, covering nearby greenery, windows, doors, and delicate items, and assessing the overall environment before starting.
The best season for pressure washing a house is typically in spring or early autumn. Additionally, early mornings or late afternoons are ideal times because the surfaces are cooler, and you avoid the harsh midday sun.
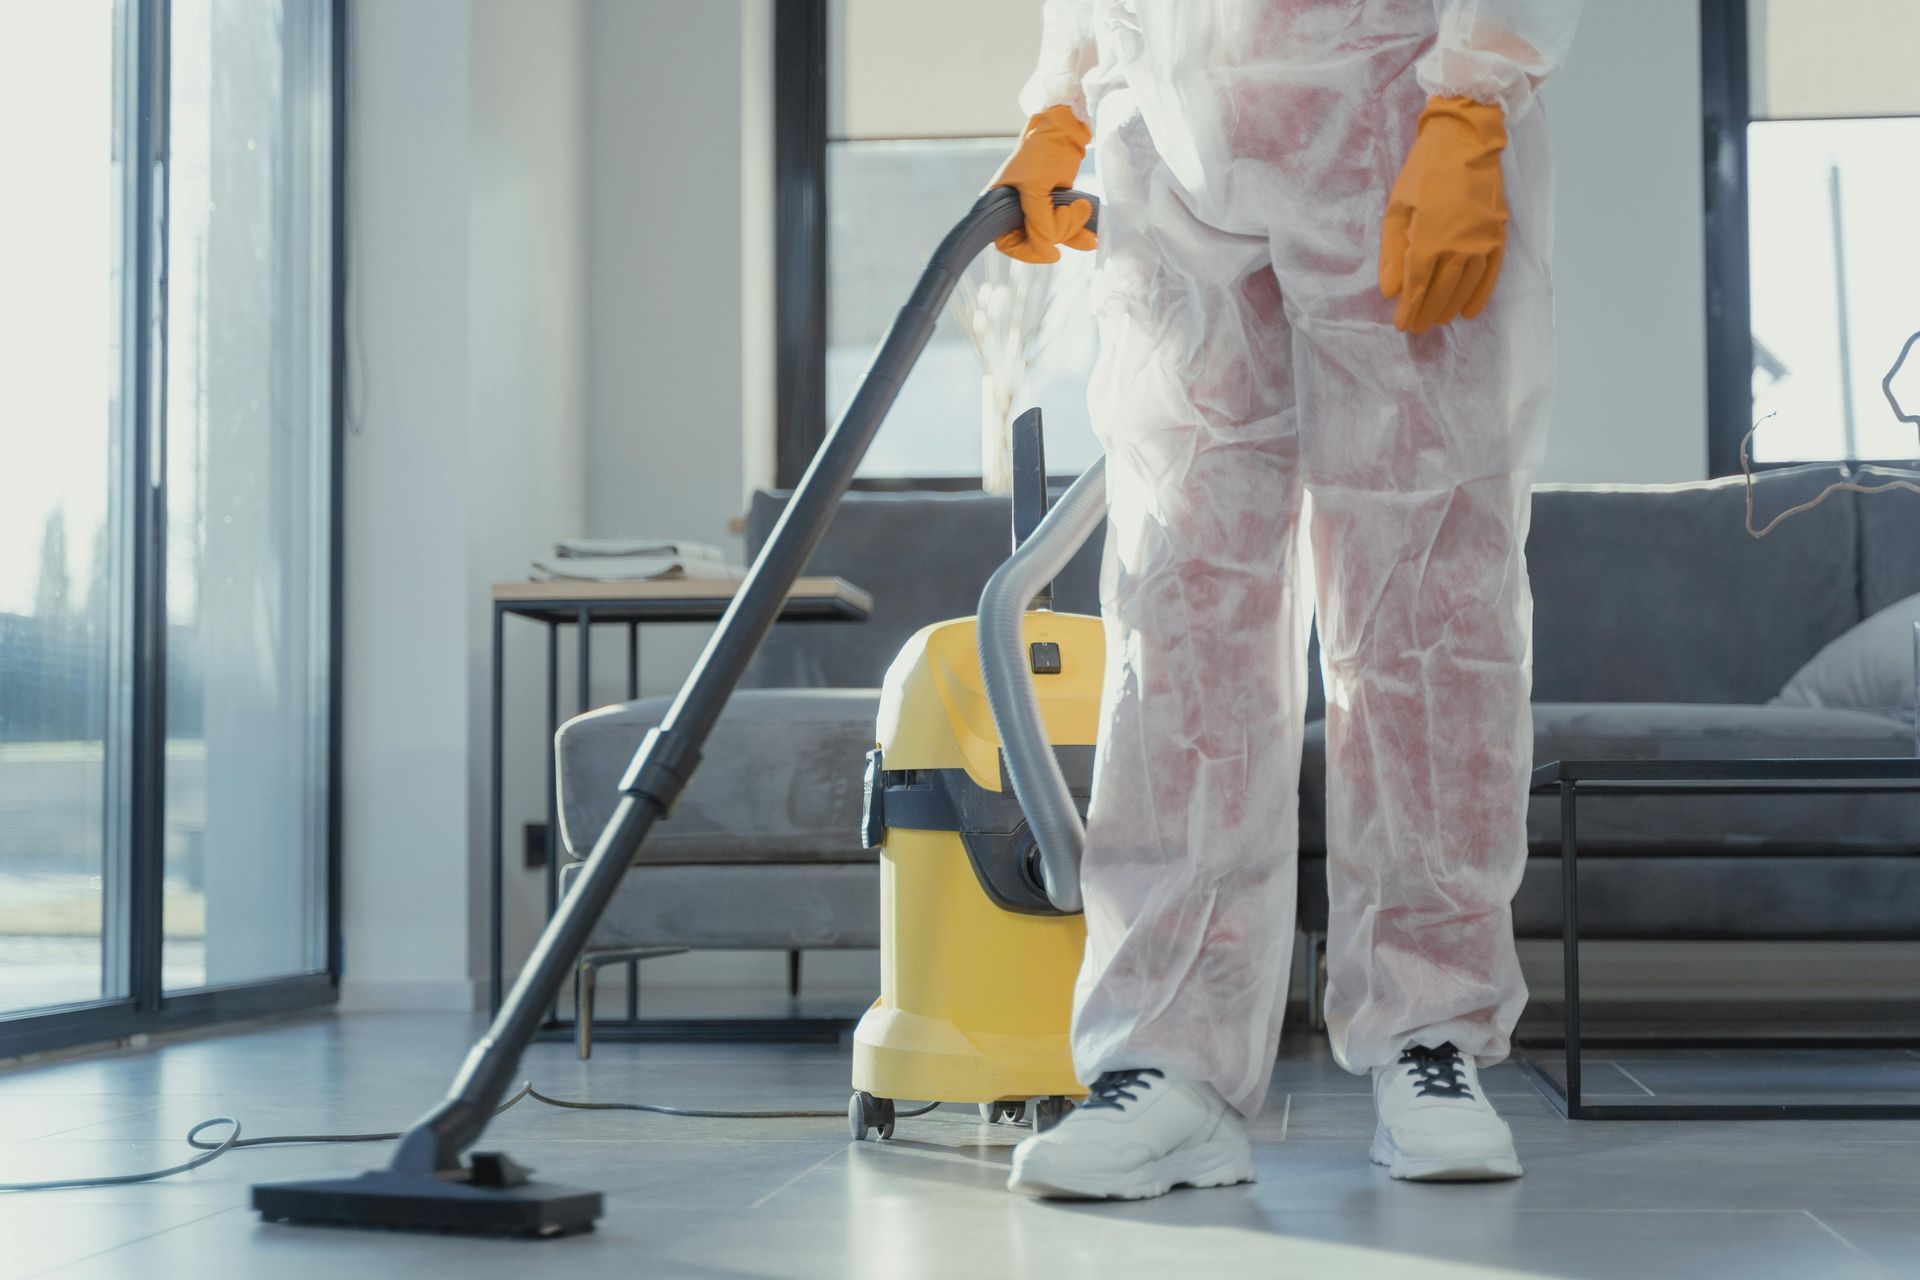
The preparatory steps might also include sweeping away cobwebs and surface dirt and cleaning gutters and downspouts first to prevent any unwanted pooling or backflow of water.
2. Prepare the Washing Solution
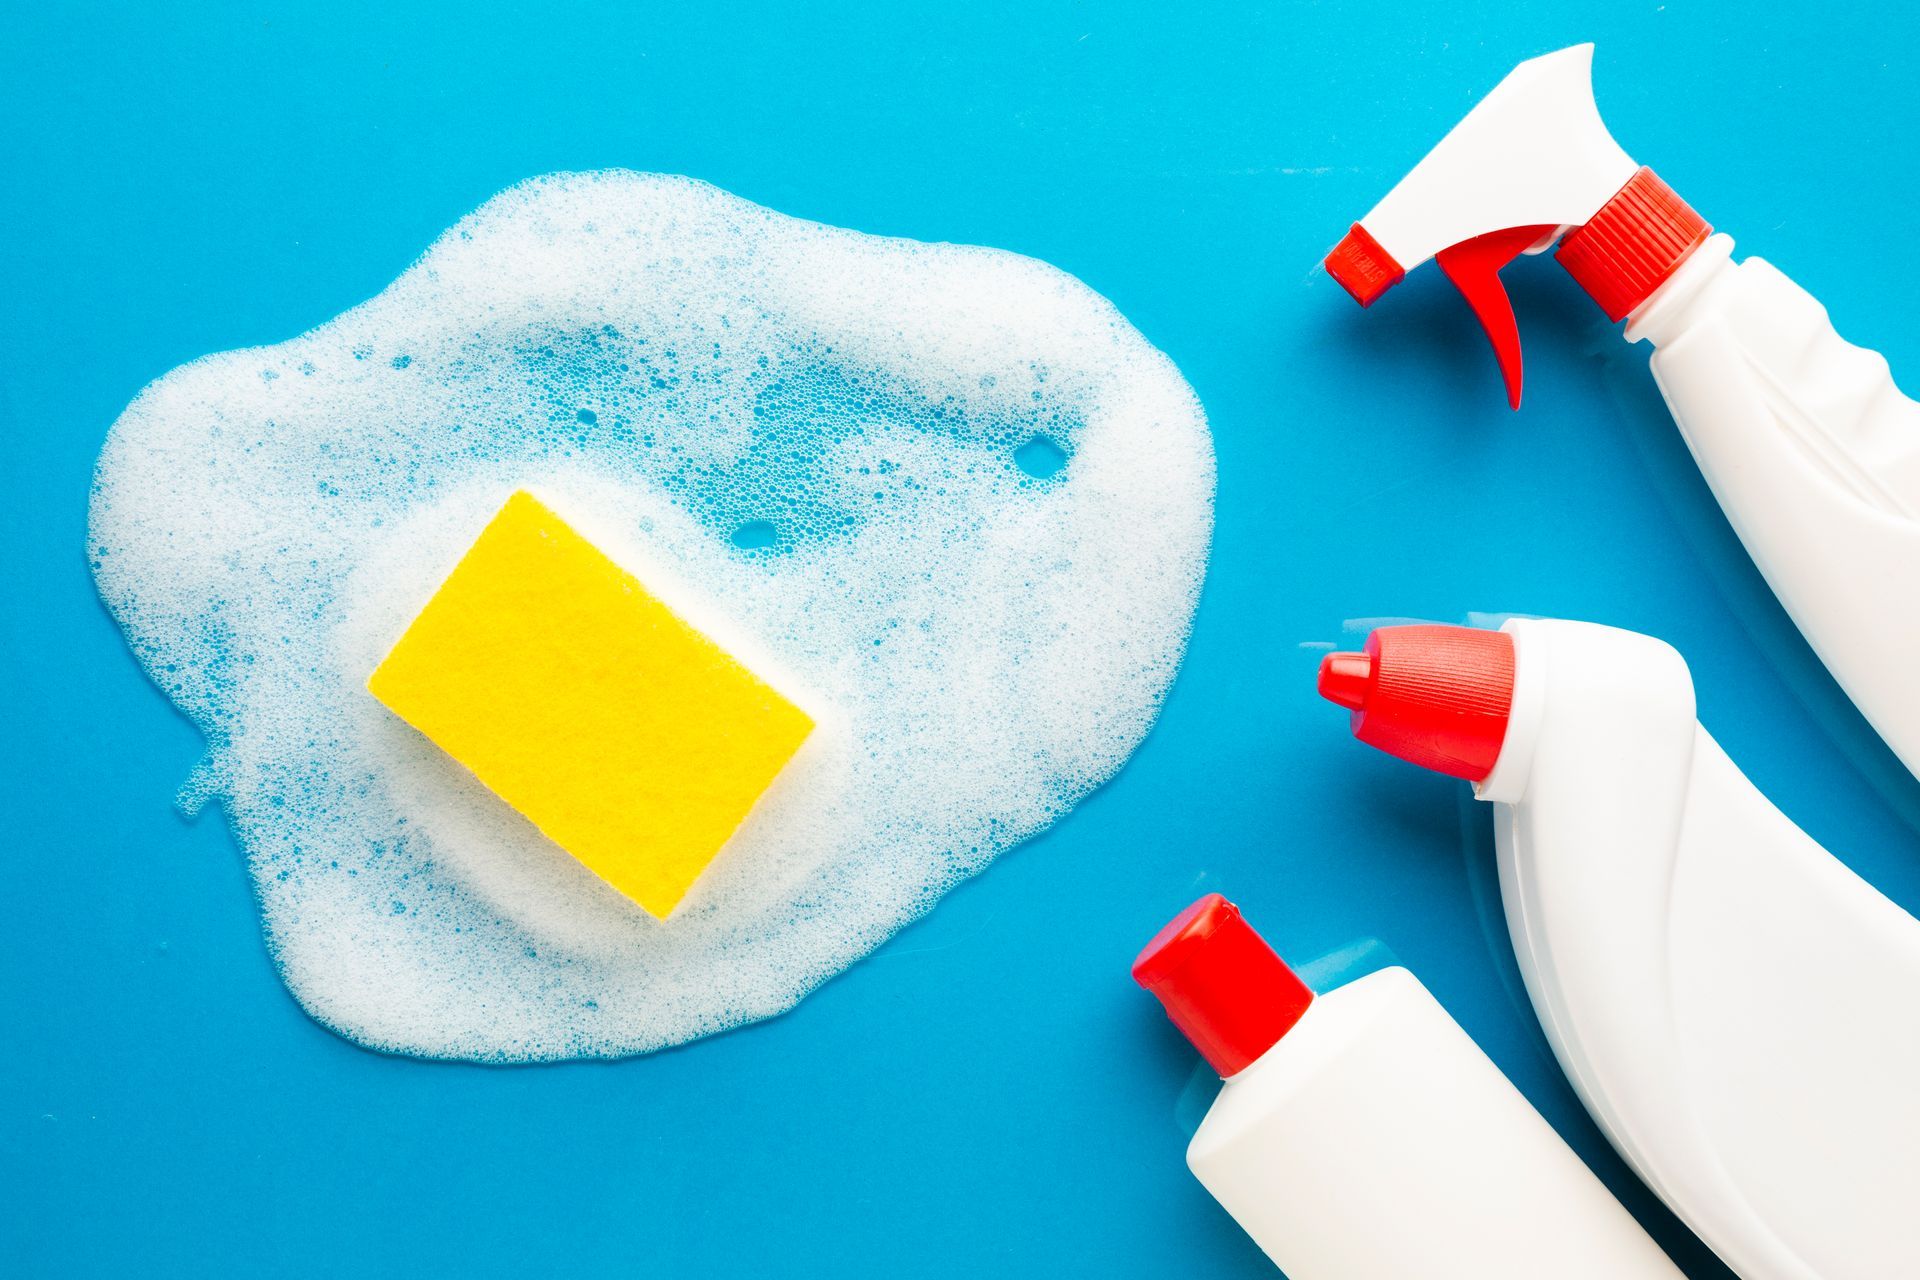
The next step is to prepare a scrubbing solution!
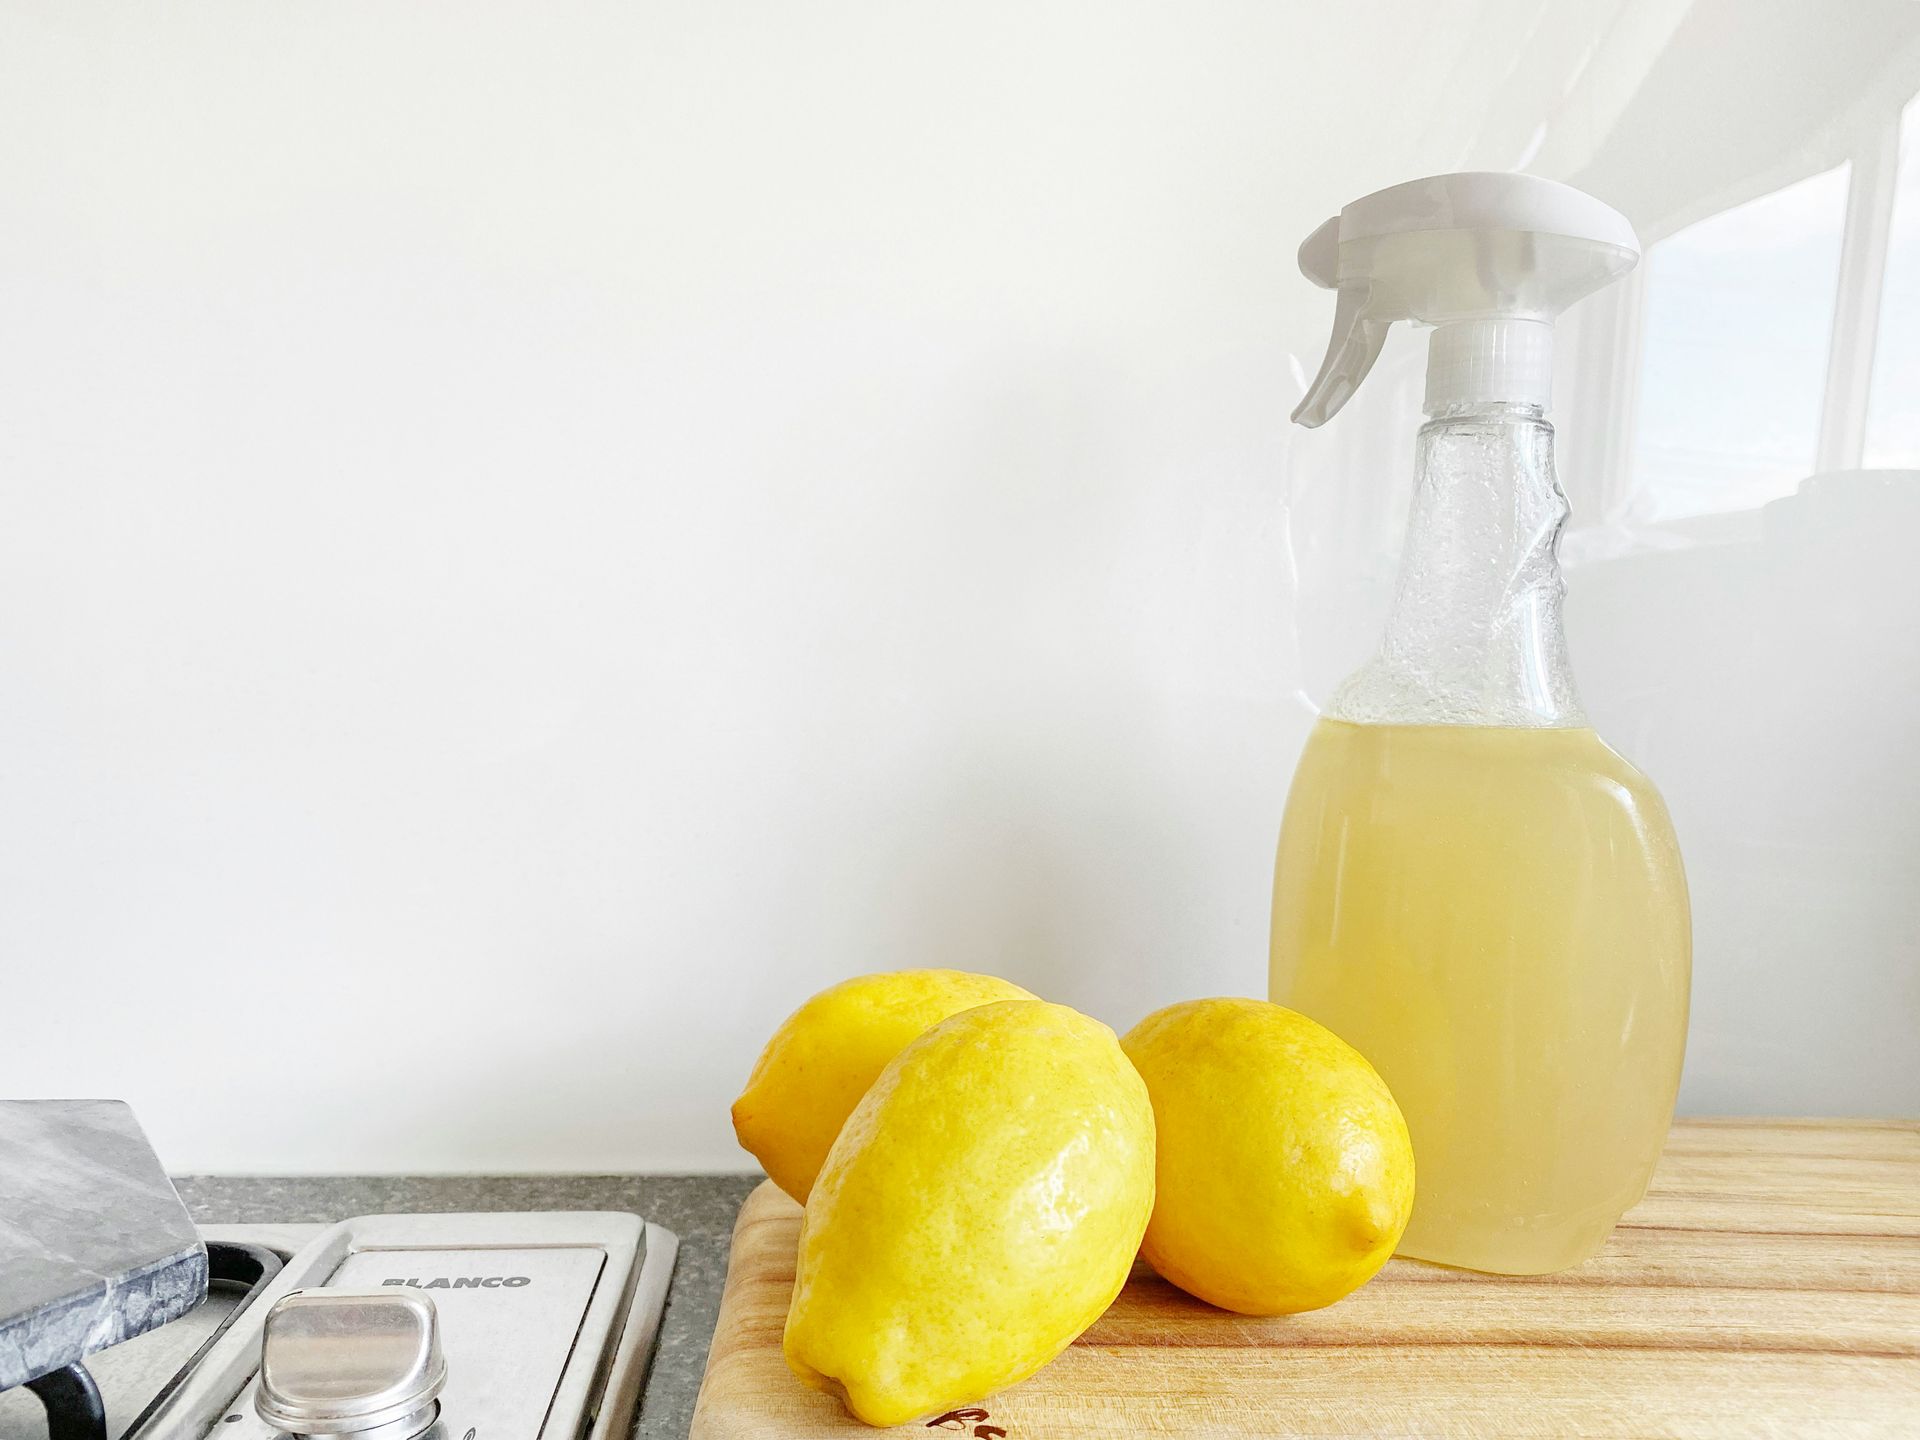
Most professionals use a Sodium Hypochlorite (Bleach) solution for soft washing, diluting it with water to effectively remove dirt, grime, and stains. Alternatively, a general-purpose cleaning solution can be made by mixing a biodegradable detergent with water. For mould and mildew removal, mix a mildewcide into 5 gallons of water, following the manufacturer’s directions. If you prefer a simpler, more home-friendly approach, homemade solutions using vinegar, dish soap, or hydrogen peroxide can also effectively kill mould, mildew, and other organisms.
Below are a few specific scrubbing solution recipes you can try. These are designed to be applied by hand (using a brush or sprayer) before pressure washing your home:
- Bleach-Based Soft Wash: 1 part household bleach (6% sodium hypochlorite) to 10 parts water.
- Biodegradable Detergent Solution: 1/4 cup of biodegradable detergent (e.g., Simple Green) per 1 gallon of warm water.
- Vinegar-Based Cleaning Mix (for Mould & Mildew): In a 1-gallon bucket, mix: 2 cups of white vinegar, 2 cups of water, 2 teaspoons of dish soap.
- Mildewcide-Enhanced Mix: Start with 5 gallons of water. Add mildewcide according to the manufacturer’s directions (typically around 4 oz per 5 gallons). For tougher mould, you may safely add a small amount of bleach (e.g., 1/2 cup per 5 gallons) if the surface permits.
Always pre-wet surfaces with water to help the solution spread evenly and prevent streaking.
3. Set Up the Pressure Washer
Before scrubbing the cleaning solution, it’s important to set up your pressure washer beforehand. That way, when you are ready to rinse, you won’t have to wait for anything and the cleaning solution won’t dry off.
First, you need to choose the correct nozzle tip based on the surface you are going to work on—this ensures that water is sprayed at a correct angle and doesn’t damage the surface. The same goes for selecting the correct PSI settings and the correct GPM for the desired surface.
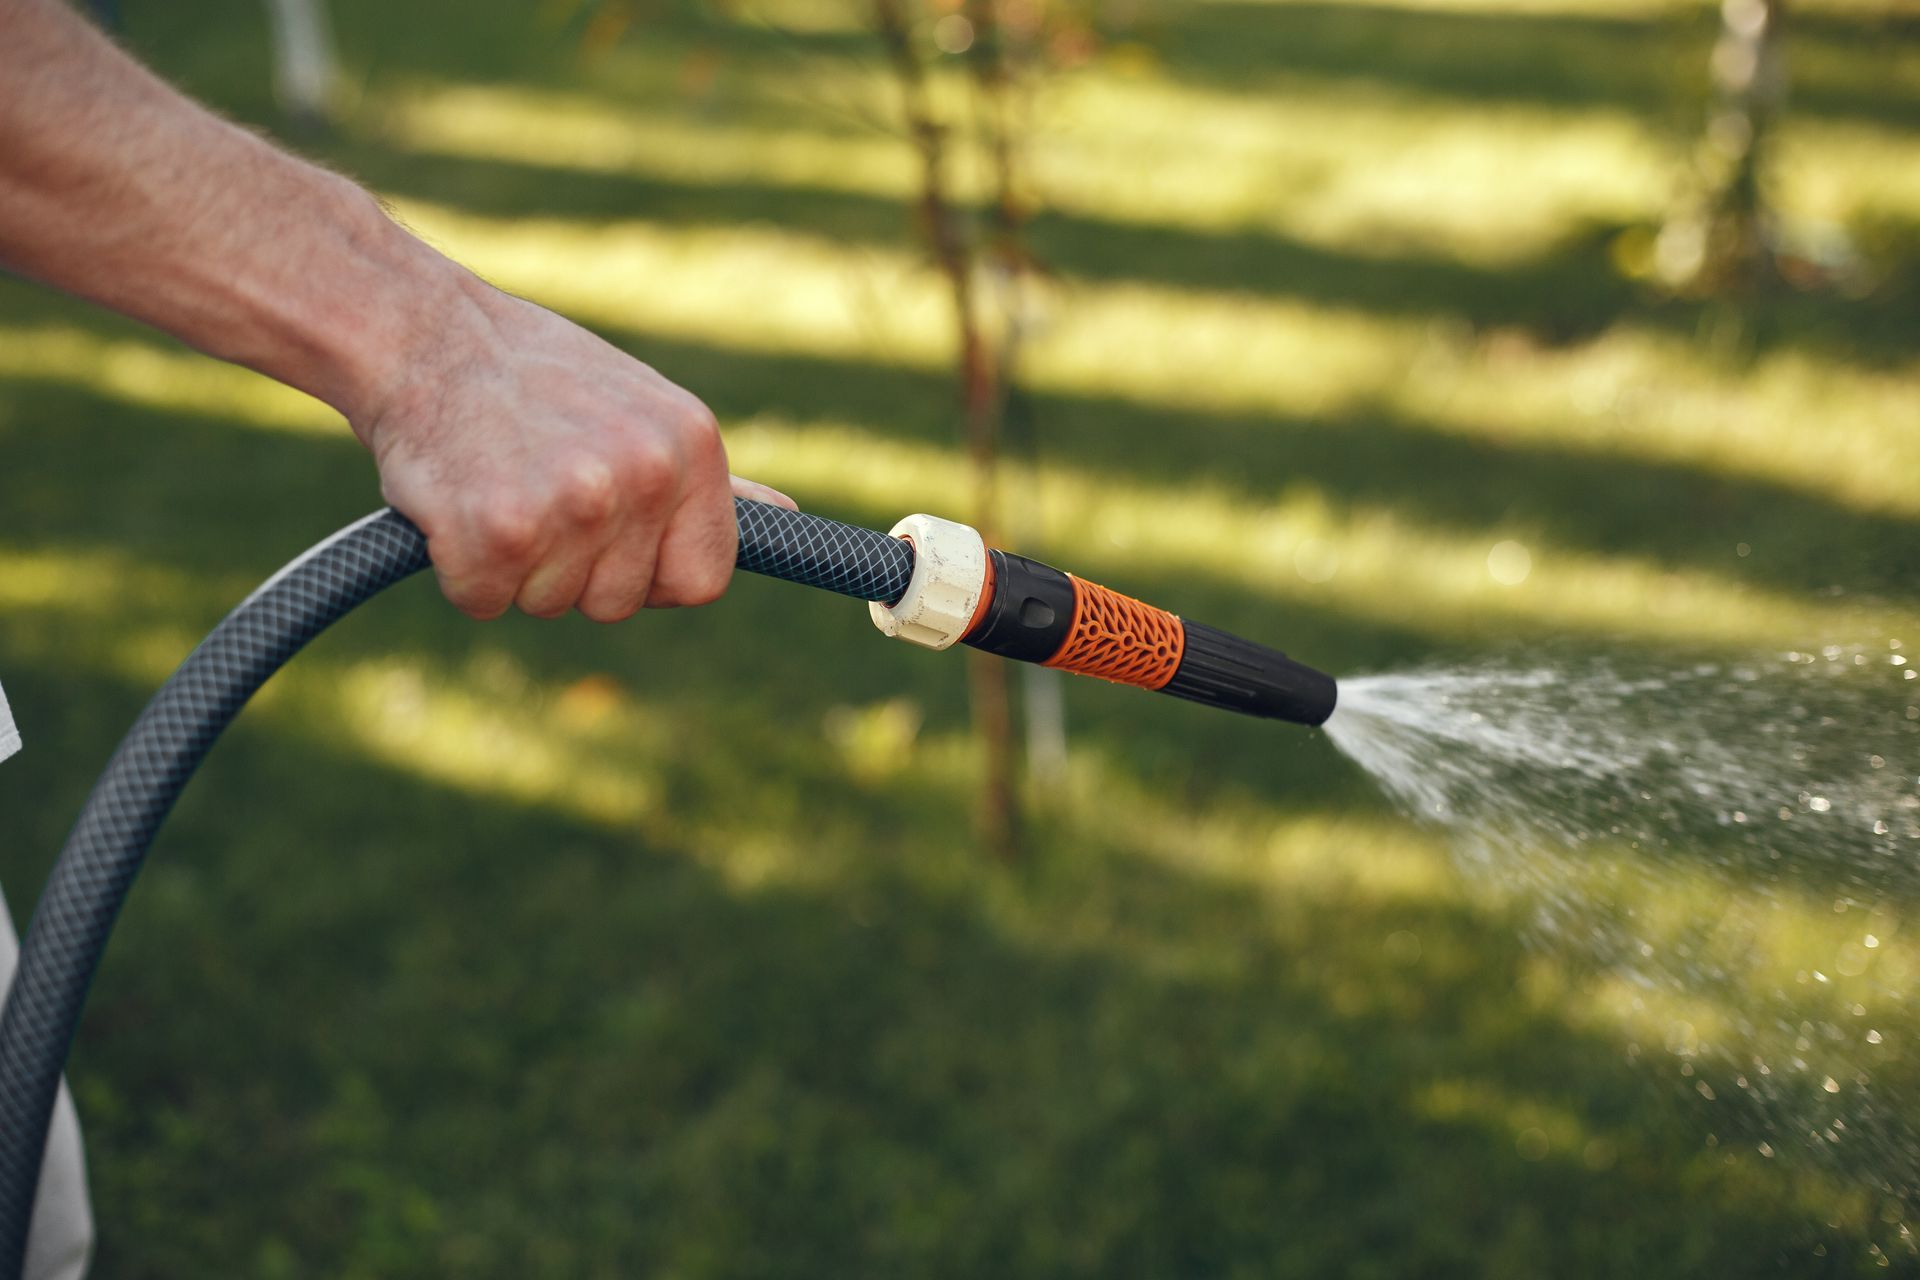
Place the pressure washer on a stable, level surface. Check that oil and fuel (for gas models) are at proper levels, and that all connections (hoses, nozzle, detergent) are secure. Attach your garden hose to the water inlet and ensure the water supply is fully turned on.
4. Apply Detergent and Scrub the Area
Now that everything is set up, it’s time for the real work.
First comes the application of the cleaning solution and the scrubbing; depending on the size of your house you can divide the workflow into smaller chunks. For example, you can work on 10-foot sections at a time, and once you are done, you can move to the next section.
Use a garden sprayer to spread your cleaning solution onto the surface. While scrubbing, make sure you are going from the bottom up to prevent streaking and use a soft bristle brush to prevent surface damage.
Once you’re done scrubbing the area, let the solution sit for about 5-10 minutes—the while we’ll start and warm up our pressure washer.
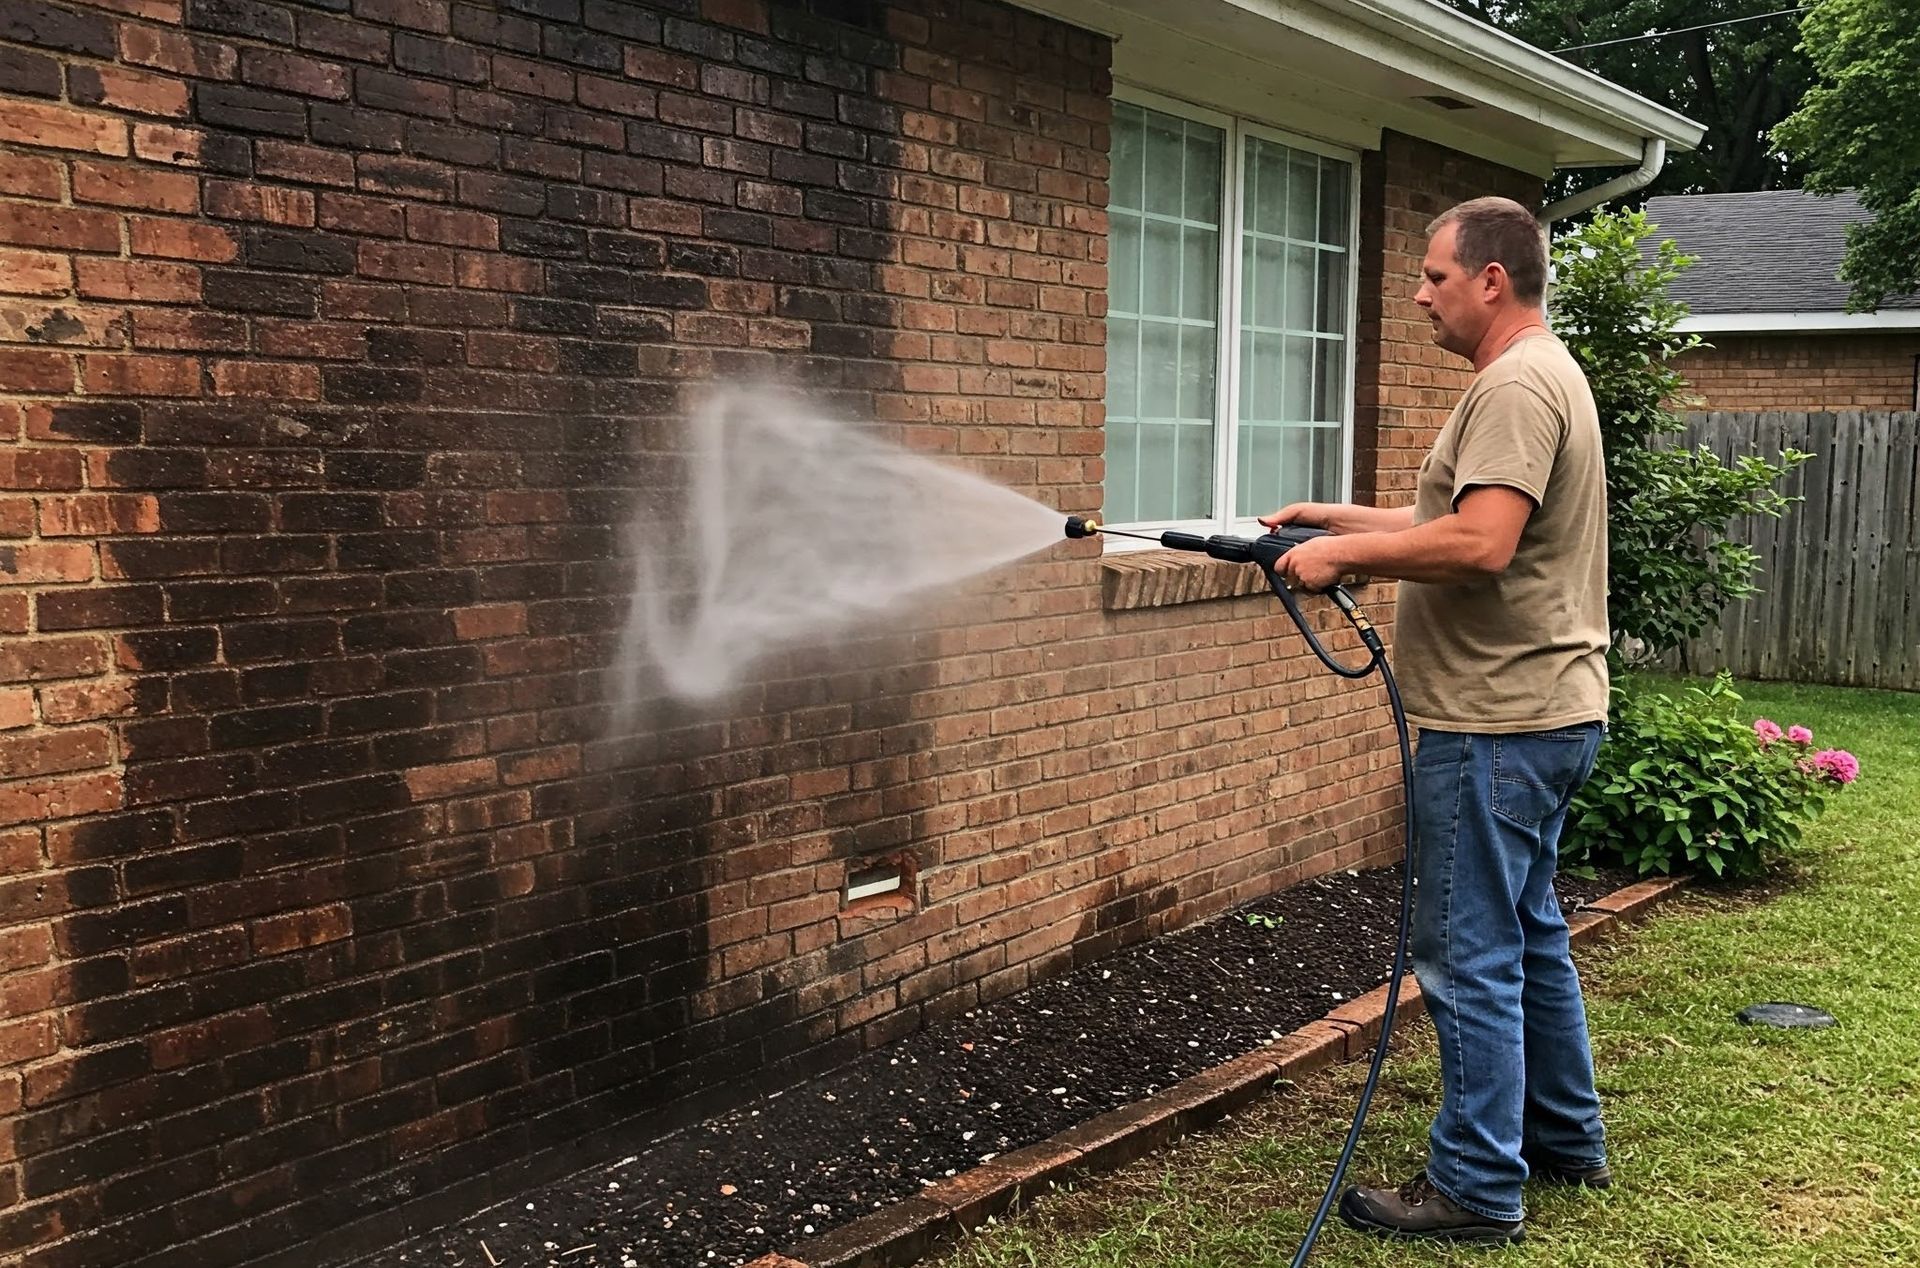
5. Pressure Washing Execution
For gas models, engage the choke (if cold) and pull the starter cord or press the electric start button. For electric models, ensure the machine is properly plugged in and press the start button.
Once the engine starts, let it warm up for a minute.
Gradually disengage the choke (if applicable) and adjust the pressure settings as needed before you start spraying.
Now, it’s time to pressure wash. This time, you need to start from the top and work your way down to avoid streaks. Rinse from top to bottom, adjusting to a wider nozzle (25°–40°). While washing, maintain a consistent motion to avoid etching. Use sweeping strokes and lift the wand gradually.
Here’s a brief guide for different surfaces:
- Vinyl Siding: Use low to moderate pressure; avoid getting too close. Avoid upward angles to prevent water intrusion.
- Wood Surfaces: Use moderate pressure and consider soft washing to prevent damage. Follow the grain; NEVER use a 0° nozzle.
- Concrete/Brick: Higher pressure is acceptable but be cautious with edges. Pre-treat oil stains with a degreaser.
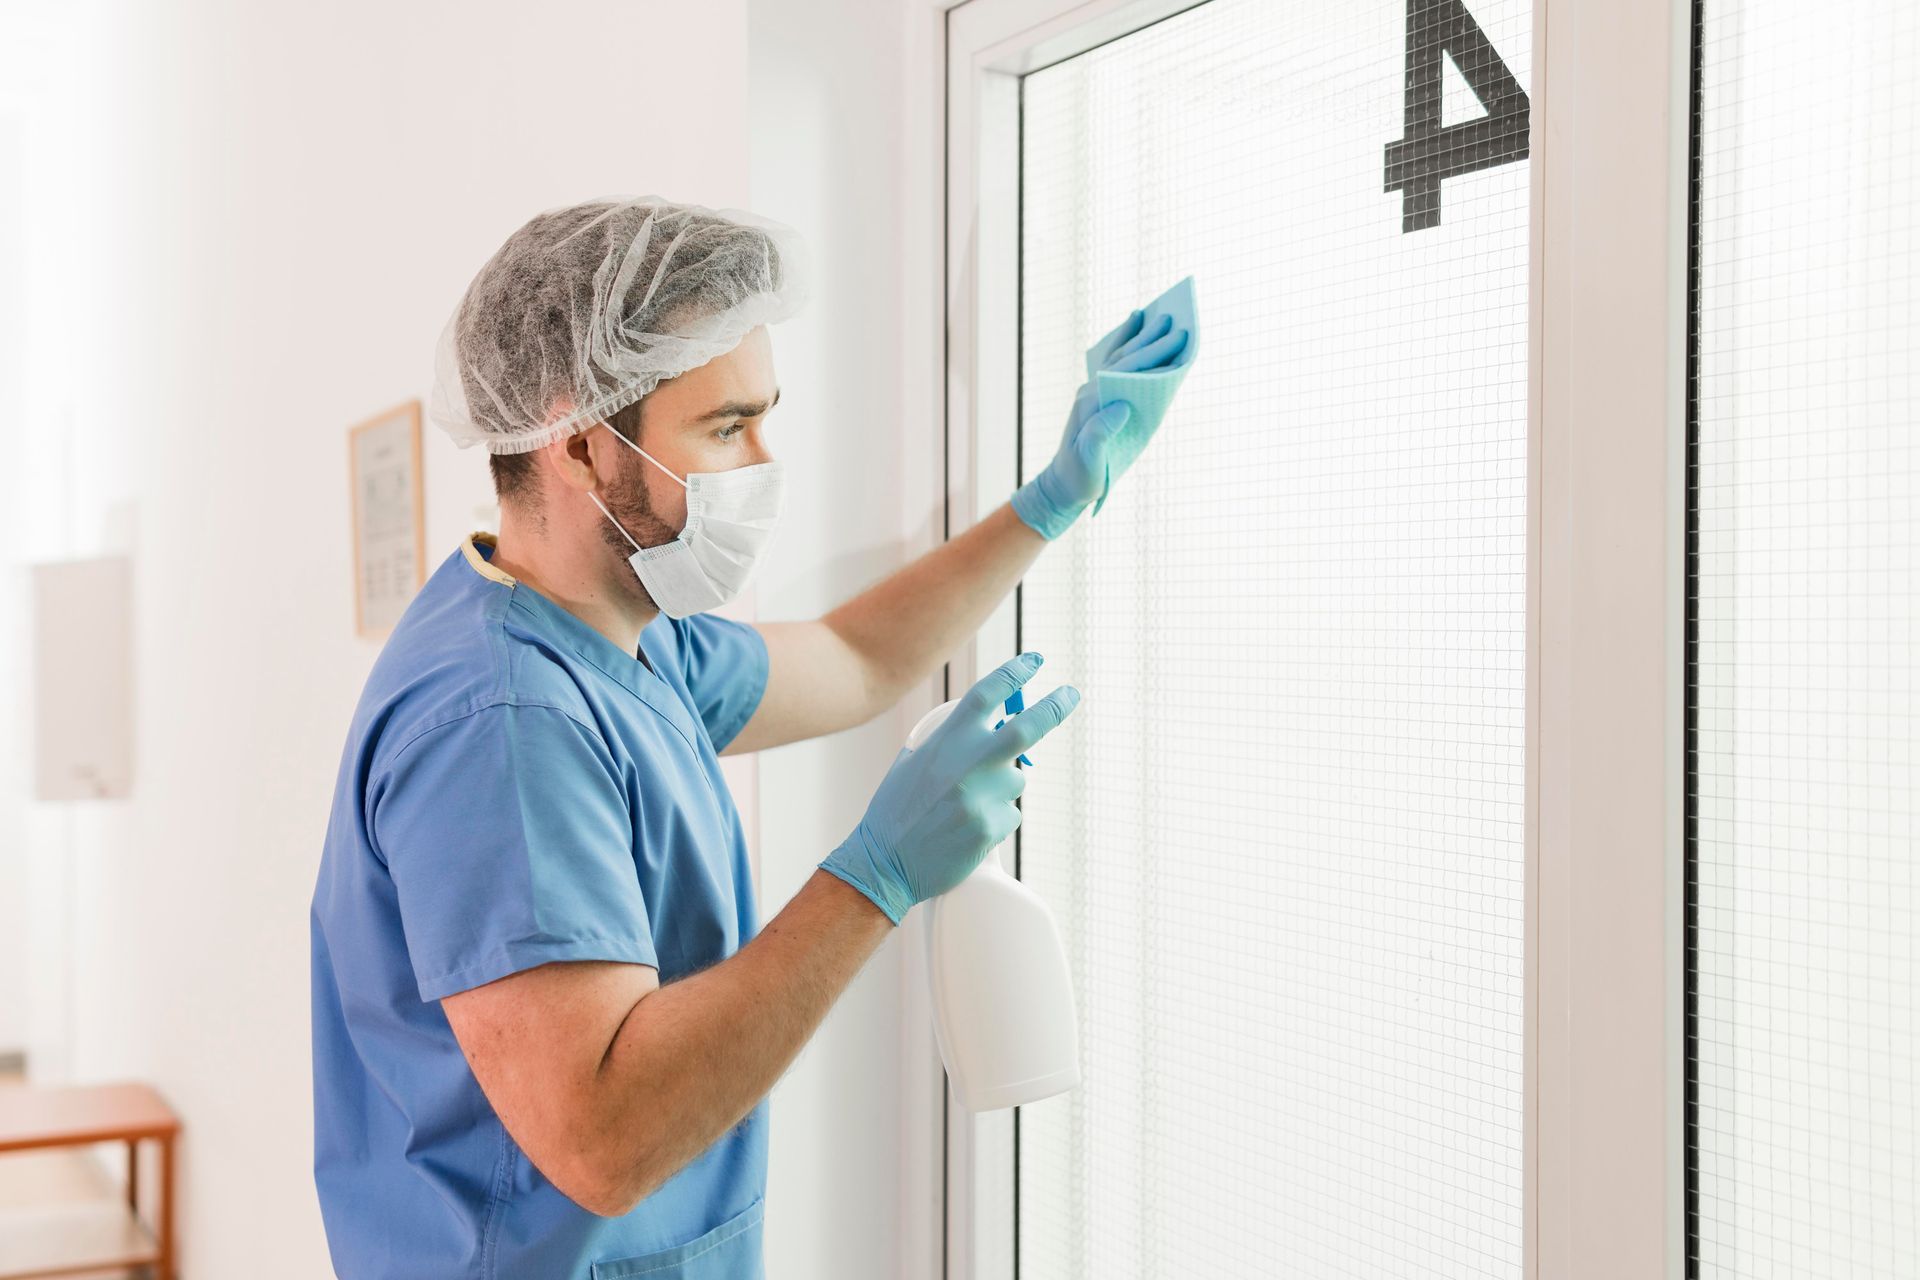
- Windows: Use low-pressure and shield seals to prevent leaks.
Once you’re done, stop the pressure washer. The best way is to first release the trigger so that the water continues to flow and release any built-up pressure. Let the unit sit and run idle for a couple of minutes. Finally, turn off the engine (or switch) and shut off the water supply.
6. Finishing Up and Letting Dry
Follow steps 3 to 5 for each section, until you’ve cleaned the whole house. Once you are finished, allow the house to dry completely. If you are preparing your home for fresh paint, let the power wash dry for at least 24–48 hours before painting/sealing.
Also, don’t forget to inspect for any missed spots or potential damage.
And, that’s all!
Conclusion
Now that you’re equipped with all the knowledge you need to safely and effectively pressure wash your home, it’s your time to shine! Remember the importance of choosing the right equipment and settings for your pressure washer.
Safety comes first, so make sure you wear proper protective gear, and be careful in your cleaning methods. Pressure washing can literally transform your home when done safely and correctly.
We encourage our readers to follow these best practices to achieve professional results like ours!
Stay Safe, Stay Klean!
FAQs
What Surfaces Can Be Pressure Washed?
Surfaces like concrete, brick, vinyl, and stucco are generally considered safe to be pressure washed. However, you need to be careful when working with old wood, asphalt roofs, and loose mortar, as high pressure can easily damage these surfaces.
How Often Should I Pressure Wash?
Annual cleaning for most homes; bi-annual in humid climates.
How Long Does Power Washing Take?
It usually takes around 2–6 hours for a 1,500 sq. ft. home.
Best Solution for Pressure Washing?
Oxygenated bleach for mould; biodegradable detergent for general use.
Does Power Washing Increase Property Value?
Yes—it improves curb appeal and prevents long-term damage, increasing the value of your property.